RedShark Replay: Phil Rhodes takes a close look at methods for using LUTs and one (or two) approaches that may lead to greater consistency on-set and fewer headaches in post. The answer is log.
One of the problems of modern camerawork is an excess of choice. Back when video cameras had a range of seven f-stops, everything was simple: do a factory reset, maybe make a couple of basic menu changes, working out the most obvious kinks inherent to the manufacturer's preferred configuration, and light it so that the monitor looks right. Not any more, however. Now, we're forced to do lots of complicated preparatory work with grading applications and bring a laptop to set.
Or are we?
The whole hog
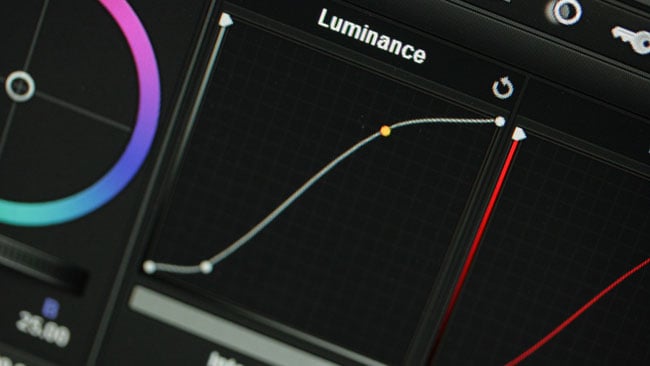 Designing custom LUTs in Resolve is possible, but not absolutely necessary.
A lot of explanations – including ours – of the most capable approaches to shooting modern formats try to explain every possible refinement. In this context, 'modern formats' includes things like Sony's Hypergamma setups, which are sort of low-contrast quasi-log approaches to recording pictures, but also things like Blackmagic's 'film' mode and the thousand variations on log, particularly the SLog2 and SLog3 formats supported by many of Sony's cameras, from the A7S DSLR to its high-end cinema cameras. And sure, if you want to or need to, it's possible to implement all kinds of very capable workflows with custom colour grading on the monitors, automatic conveyance of those decisions to postproduction and a thousand ways for the group of executives clustered around the monitor to make poorly-informed comments about the work in progress. Needless to say, the opportunities for error established by this sort of procedure can provide all-day entertainment for the whole family and this sort of thing is really only done on big feature films.
Relying on the waveform
Other approaches, perhaps seeking to simplify the situation (and quite understandably too) involve the careful use of a waveform monitor and knowledge of where various things should fall in exposure for any particular shooting mode. In SLog3, for instance, the value of a properly-exposed, matt-finished white object is often taken to be a bit under 60% of the maximum, meaning skin tones will fall considerably below that. It's quite possible to put a waveform monitor on an SLog3 signal, observe where the skin tones fall and achieve a correct exposure with lots of room for highlights. The problem with doing this is that 60% grey is not very bright and the whole image will look, subjectively, terribly muddy and flat, and it's easy to be duped into severe overexposure.
Now, this establishes the basic idea underlying how log is supposed to work. What we're really doing here is underexposing a lot to leave room for those highlights that video cameras aren't thought to handle well, but the result is that the monitored image doesn't look very nice and the muttering account executives are unlikely to be pleased.
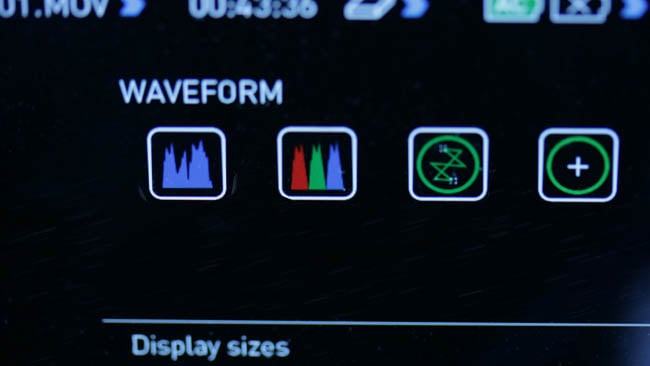 Atomos's Shogun offers various luminance measurement displays.
Metering the old-school way
There is a third approach, but it isn't one that's easy to recommend. Using a light meter for exposure in video has, of course, always been possible, but it's also been dependent heavily on the ability of photochemical film to tolerate imprecision in exposure. Yes, I know, everyone used to like reports from the lab that the negative needed no colour or brightness adjustment when the dailies were made, but the reality of the situation is that metering for exposure worked on film because film didn't demand that much precision. Metering for exposure on old, Rec. 709 video cameras was often pretty disastrous by comparison. Doing it with modern, high-dynamic-range cameras is probably a bit more reasonable, but there's still a need to figure out what the monitoring will look like and how to ensure it makes people happy. One could, if one were a hoary old director of photography, probably have a tap-look LUT made to turn the picture black-and-white and high in contrast, so it's blindingly obvious to everyone that it isn't the final image. However, one would need letters after one's name, not to mention a lot of trust the producers, to get away with that in most circumstances these days.
Sanity prevails
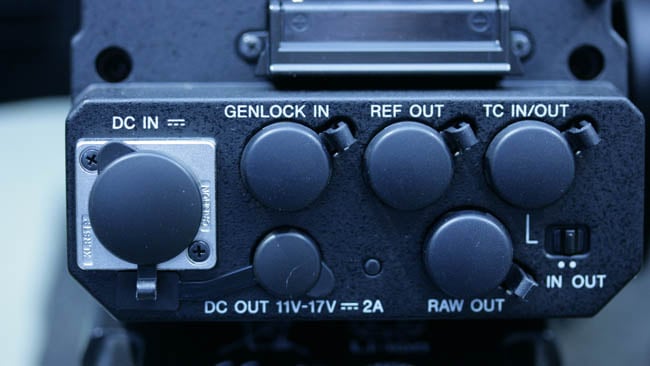 Many cameras, including this FS7, offer Rec. 709 normalised signals while recording log. Often, nothing more is required.
Happily, there's a fourth way. It's simple, it's reliable and it's gaining in currency, even on quite big productions which could, at no great stretch, have afforded to do a complete workflow with on-set grading. Most cameras, even things like the A7S DSLR, have the ability to shoot log while putting out a monitor image including a basic, straightforward normalisation LUT. Sony's menus call this an MLUT, presumably for monitoring LUT. Many of its cameras include a LUT called 'REC709.800', which will take the camera's log output and normalise it to an image, designed for conventional monitors, with reasonably cautious highlight compression so that the brightest parts of the image don't become too ugly.
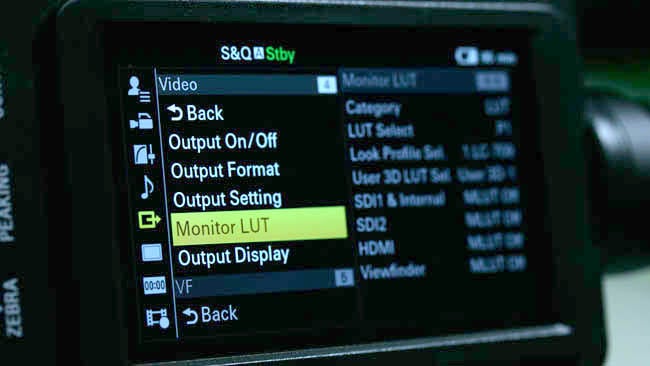 When using in-camera LUTs, know how to get out of them quickly.
For completeness, it's as well to know how to toggle the MLUT on and off conveniently, so that areas of the image which are creating concern can be checked on a monitor or, better, a waveform monitor, because uncorrected log images can be hard to view by eye. Often, this function can be made available on a user-assignable button. Beyond that, though, this approach provides a convenient return to the days of lighting to how it looks on the monitor, without the surrounding complexities of LUT generation and management.
Quelling dissent
Concern will doubtless be raised that this technique, which, I should make clear, is entirely well-known and established in many part of the industry, represents nothing more than a simplification of the custom-LUT technique that we called the whole hog. Technically, this is quite valid; the picture comes out of the camera, gets processed and gets monitored. What's key is that the LUT involved is commonly understood and available (it's built in to the camera and to most postproduction software, after all) and mistakes are less likely. Compare this to the situation where new LUTs may be generated for each scene by an ambitious DIT and this information must be conveyed to post, converted into appropriate formats, applied to dailies and perhaps used as a basis for the final grade.
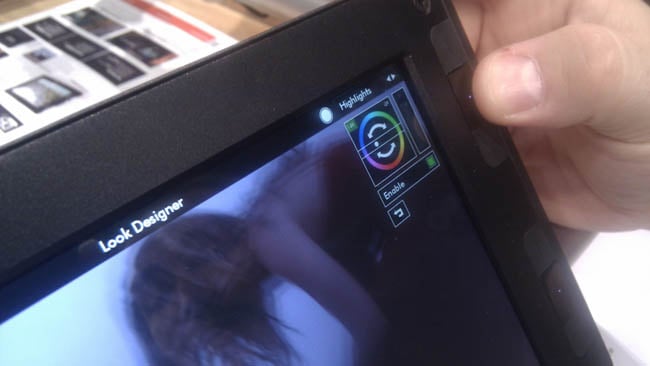 With advanced monitors such as those from SmallHD, looks can be designed and tweaked on set, then exported for later use.
The other downside of the simple, Rec. 709 approach is that it does genuinely stifle creativity to some degree. If the production is intended to look unconventional, such as high in contrast, low in saturation, like a bleach-bypassed film image or something deliberately exposed with unconventional colour balance, and if that's to be done in post, then a 709 viewing LUT may not produce an image that looks much like the intended result. In that situation, a hybrid approach is available, where a single, perhaps slightly conservative LUT is created and used without exception for the entire show. Some degree of understanding of the process is required from both crew and producers if this sort of approach is to be successful and that will never change.
But it doesn't, certainly, have to be as complicated as it is frequently taken to be.
Tags: Production


Comments