
It’s hard to talk about how a production was shot, especially a big, expensive production, without talking about clever things that were done with lenses. There are an almost endless number of options available to cinematographers looking for lenses with character. We’re not here to talk about how wise this is; there’s a huge grey area between characterful and bad, and that’s a matter of opinion.
Still, if you can’t afford Panavision C-series anamorphics or Cooke Speed Panchros, there are things that can be done to an existing lens that cost almost nothing.
A piece of fishing line
There are anamorphic lenses made to suit widescreen sensors which will work very nicely on a lot of affordable cameras. The problem is that these 1.3:1 lenses don’t have to compress the image so much as the original 2:1 designs, which were intended for a 35mm frame that’s squarer to begin with. While they’re real anamorphics, though, 1.3:1 lenses sometimes produce only fairly subtle effects.
One route to a slightly anamorphic style flare is a piece of fishing line, stretched it across the back of the mount behind the rear element. Monofilament line works best, and to some extent the colour of line is represented in the colour of the flare (blue is a favourite). If you use a single line in the centre of the lens, it’ll react mainly to light sources in the centre of the frame; for bolder flares or more coverage, add more in parallel.
Flares appear at right angles to the line, so for horizontal, anamorphic-style flares, run the line vertically. Get the line in the right orientation with respect to where the lens will be when it’s mounted on the camera; nobody likes drunken anamorphic flares, although you could also run several pieces at different angles and create a star filter.
This is an example of behind-the-lens filtering, just like using pieces of stockings to create grid patterned flares. Experimentation is key; you can even do this with bits of human hair, especially if you have a friend with blue hair. It can be a little tricky to stick bits of fishing line in place while keeping the lens clean, and ensuring nothing jams in the mount or mechanisms of the lens or camera, but it’s cheap.
A piece of cardboard
Some lenses simulate anamorphic focus effects – the elliptical out-of-focus highlights – with an elliptical aperture at the back of the lens. It also works, rather differently, if we put it in front of the lens. The effect sometimes shows up in the out-of-focus highlights in movies shot with actual mattes in the mattebox. A traditional matte is a flat card with a rectangular hole cut to barely clear the picture area, to reduce flares caused by lights just out of shot. Sometimes, that rectangular hole can become visible as it crops defocused light sources into a rectangular shape.
Wherever we put it, a shaped aperture can impose its shape on anything that’s out of focus, especially when they’re near the edge of frame. Even cutout text can work. It’s best at wide apertures, and it’ll block some light, so the f-stop ring on the lens won’t make sense any more. Perhaps cardboard isn’t really the most ideal thing – the fuzzy edge might be visible, and it could shed particles where they’ll do most harm. Something like blackwrap works well, and can be cut with a craft knife. It’s also possible to use lighting gels to create colour effects in soft focus areas.
A pot of paint
This one requires disassembling the lens, which is not something you should try unless you’re very sure of what you’re doing. Usually, the inside of lenses is finished in the blackest black available to avoid light bouncing around off the walls, which is one of the sources of lens flare. It’s one of the applications that’s been suggested for vantablack, which uses nanotech to create about the least-reflective surface around.
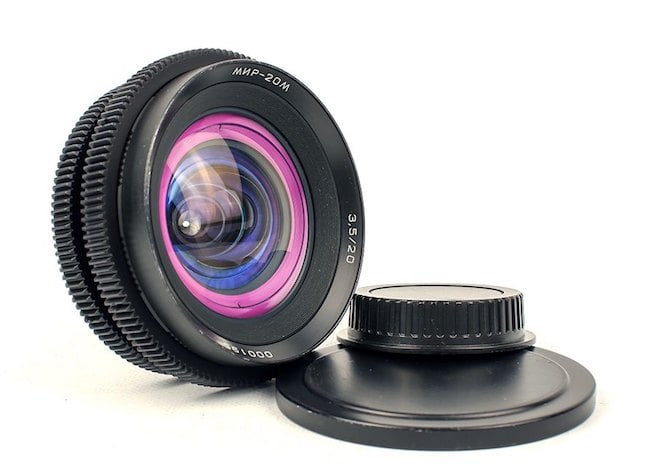
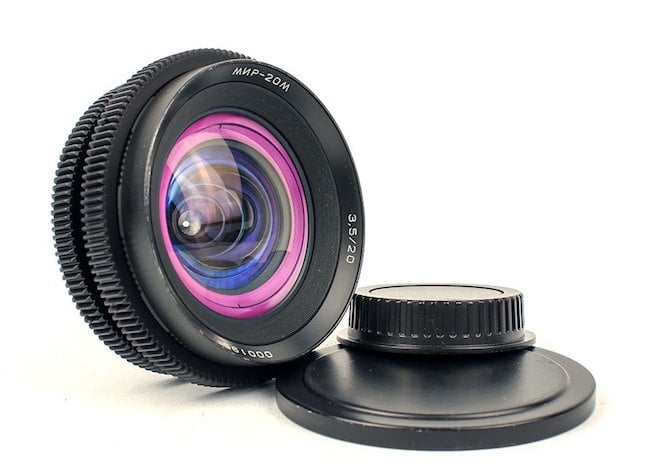
So can gleefully do exactly the opposite of normal designs. Companies like Ironglass have done well by coating some sections of barrel interiors with a bright amber paint, creating a lens that produces pronounced warm, orange flares. Bright, neon colours seem to work best – they don’t appear in frame, they simply drive the colour of flares, but a lot of experimentation is possible. It may be that nobody’s tried metallic flake paint yet, or pearlescent coatings that change colour depending on the viewing angle, holographic tapes, or lots of other interesting things.
One thing not to try
The idea of lenses without anti-reflection coatings might go back as far as Saving Private Ryan. There was a lot that made Ryan special other than the lenses, but it started a trend that’s recently given us Sigma’s Classic uncoated lenses, which are capable of some pretty energetic optical effects. So, is it possible to remove the coatings from existing lenses?
Yes and no. Modern coatings can be extremely hard, perhaps harder than the glass. Older coatings may be softer, but in either case it’s incredibly difficult to strip the coating without changing the shape of the glass and wrecking the lens completely. Buffing with cerium oxide polishing compound – which is used to polish lenses in the factory – will remove many coatings but it’s almost impossible to avoid hitting the glass as well. Companies like Duclos Lenses have the specialist equipment to do it with huge precision, and can even apply new coatings to achieve specific results.
Going beyond the lens
There are a few other very inexpensive techniques that can create some spectacular optical fireworks. We can fire a flashlight into the lens, which will make more or less anything flare. We can mount pieces of cut glass around the mattebox and create effects that react organically to the light in the scene, and we can shift the lens in its mount to create focus gradients like those used to make real scenes look like miniatures. Perhaps we’ll talk about those in more detail soon, but in the meantime, happy modding, and try not to break anything. But if you must, at least break it with creative intent.
Tags: Production


Comments