Tutorial: Learn how to combine Adobe Illustrator and Dimension to produce on-brand 3D rendered images.

Beyond stock images and motion graphics templates, Adobe Stock also offers 3D models and materials. 3D workflows may not immediately come to mind when discussing Adobe products. Photoshop can import 3D object files and After Effects has some interoperability via plug-ins. But you don’t typically associate either of these applications with 3D placement and rendering.
A newcomer to the Creative Cloud suite of applications is Adobe Dimension, formerly known as Project Felix. Dimension is a basic 3D rendering application. It can import files like .OBJ objects and materials and place them in a 3D scene. The application isn’t designed to compete with the full-featured suites like Maya and 3DMax. Modelling objects isn’t possible in Dimension and the application is missing components like dynamics and particles. However, if you are a Photoshop or Illustrator user looking to add 3D components to your designs, Dimension is absolutely worth checking out. It is extremely easy to learn and you can knock out some great layouts rather quickly.
Using a mix of Adobe Illustrator and Dimension, we’re going to build a product mockup and render the output as a marketing asset — in this case, a website element for my band’s website. I found this record sleeve model (124698794) on Adobe Stock and have loaded it into a new Dimension project.
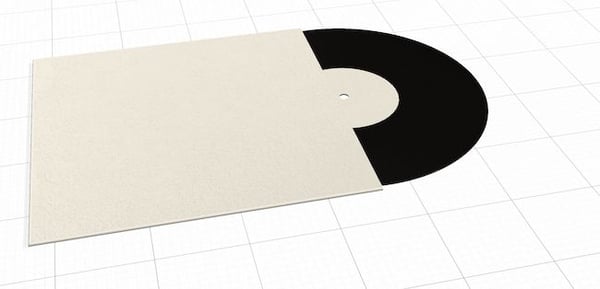
This sleeve will be a perfect fit for my fictitious rock band — The Red Sharks. But I’ll need an image to place onto the sleeve. Adobe Stock has numerous vector art illustrations available for licensing.
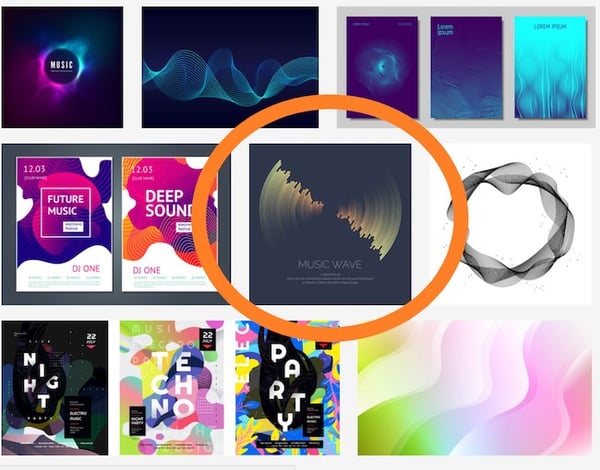
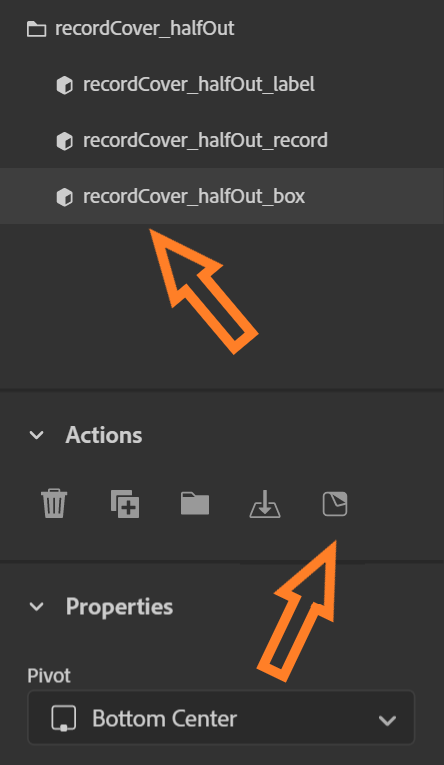
I like this sleeve in the middle; “music wave”. After licensing the image, I opened it in Illustrator and exported a jpg output as a placeholder to see how the element will work in my scene. Mapping the graphic to the object is straightforward. In Dimension, click on the object you want to map. In this case, the record sleeve’s object name is “box” and a click places the graphic on the model.
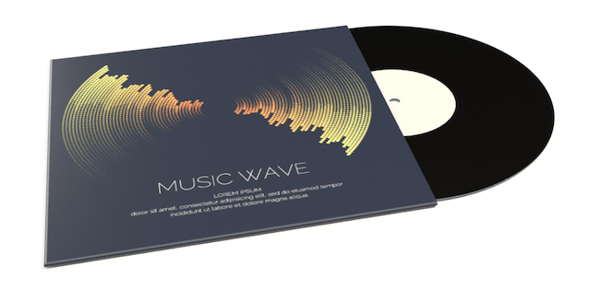
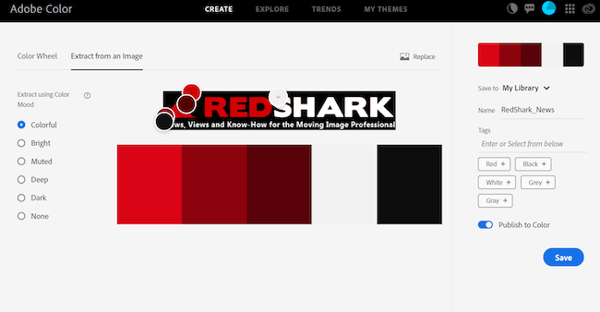
Not bad! Let’s modify those colours to get them to match my brand. I’ll need to extract the colours used in the Red Shark logo by using Adobe Color. By using the “Extract from image” tool, I can find out which hues are in use in my logo. Then I can save this colour theme, which will automatically sync and become available with my other Adobe applications like Illustrator. A useful feature in Adobe Illustrator is recolouring. Edit Colors > Recolor Artwork brings up a suite of tools to remap designs, even gradients, to various swatches, including your own custom colour profiles. It’s an easy way to adapt stock elements into your own catalogue while keeping the tone on-brand.
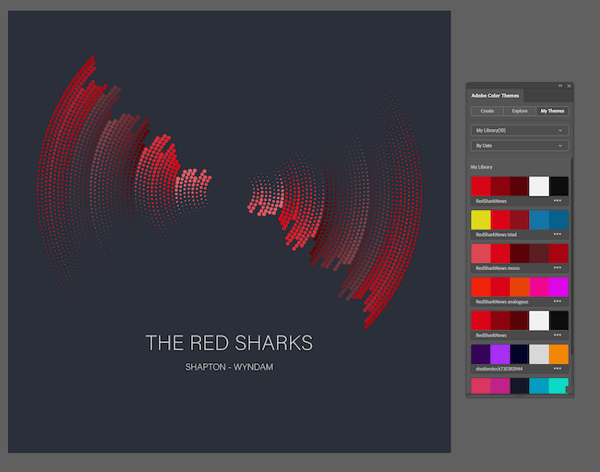
I’ve updated the sleeve graphic in Dimension. To fill out the scene, I’ve added a plane underneath as a background and mapped an included wood texture. Here’s the final render:
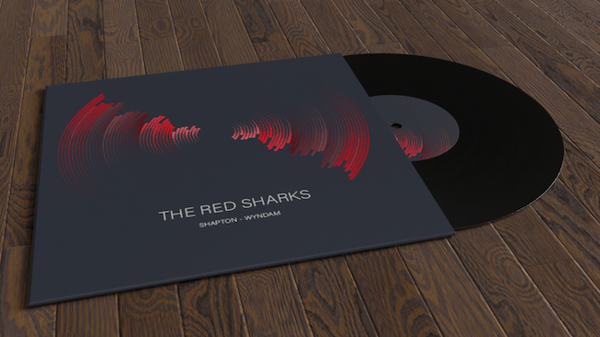
If you’re a 3D Max or Maya wizard, you may not be terribly impressed with my rendered output. However, I have no formal 3D training or background and was able to create this website-ready image using this software for the first time in a matter of a few hours (and at a cost of $0.52 USD, assuming you have Creative Cloud and a Stock subscription). 3D isn’t particularly easy to learn as there are so many rules to take in all at once. Dimension is a pretty fun canvas to throw objects at and see what works.
3D assets are divided into two categories: standard content and premium. The cost of standard content is the same as a standard stock image, being USD $2.99, $1.99, or $0.26 per asset depending on your purchasing tier. Premium assets run at USD $19.99 for monthly subscription members.
Tags: Post & VFX


Comments