3 minute read
Lux Optics is well known for its Halide photography app for iPhone, so it makes sense that it developed and released a dedicated video and cinematography app called Kino. Heath McKnight took it for a test drive to see whether it's a worthwhile addition to the mobile filmmaking app market.
Before testing, I took a moment to look over the Lux Optics Kino user guide to get an idea of features and settings. You can set up the app to be auto or manual. For my purpose, I chose auto to begin with.
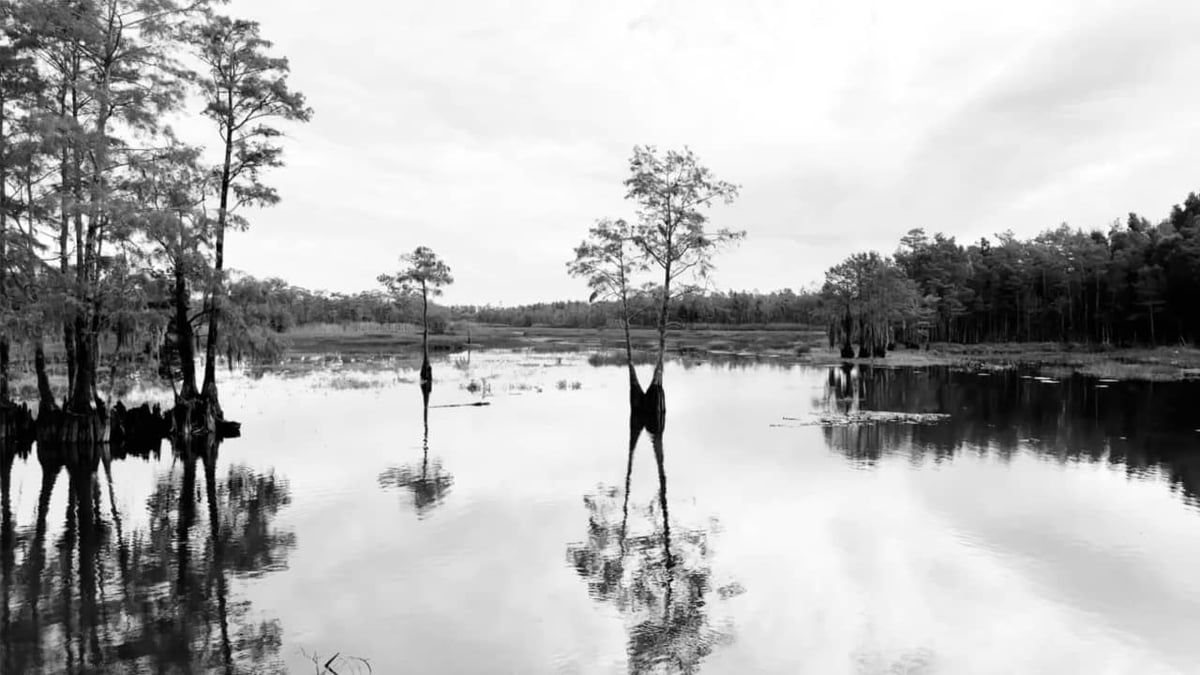
Right off the bat, I really like the Instant Grade feature, giving you different options like Kodiak 79 (similar to vintage Kodak film) and black and white. It’s easy to access by tapping the lower right-hand color icon and selecting different grades. You get 7 grades with the app, or 11 if you have an iPhone 15 Pro (the device I have) or 15 Pro Max. Keep in mind that enabling Instant Grade drops compression from HEVC (H.265) to ProRes. More on Instant Grade shortly.
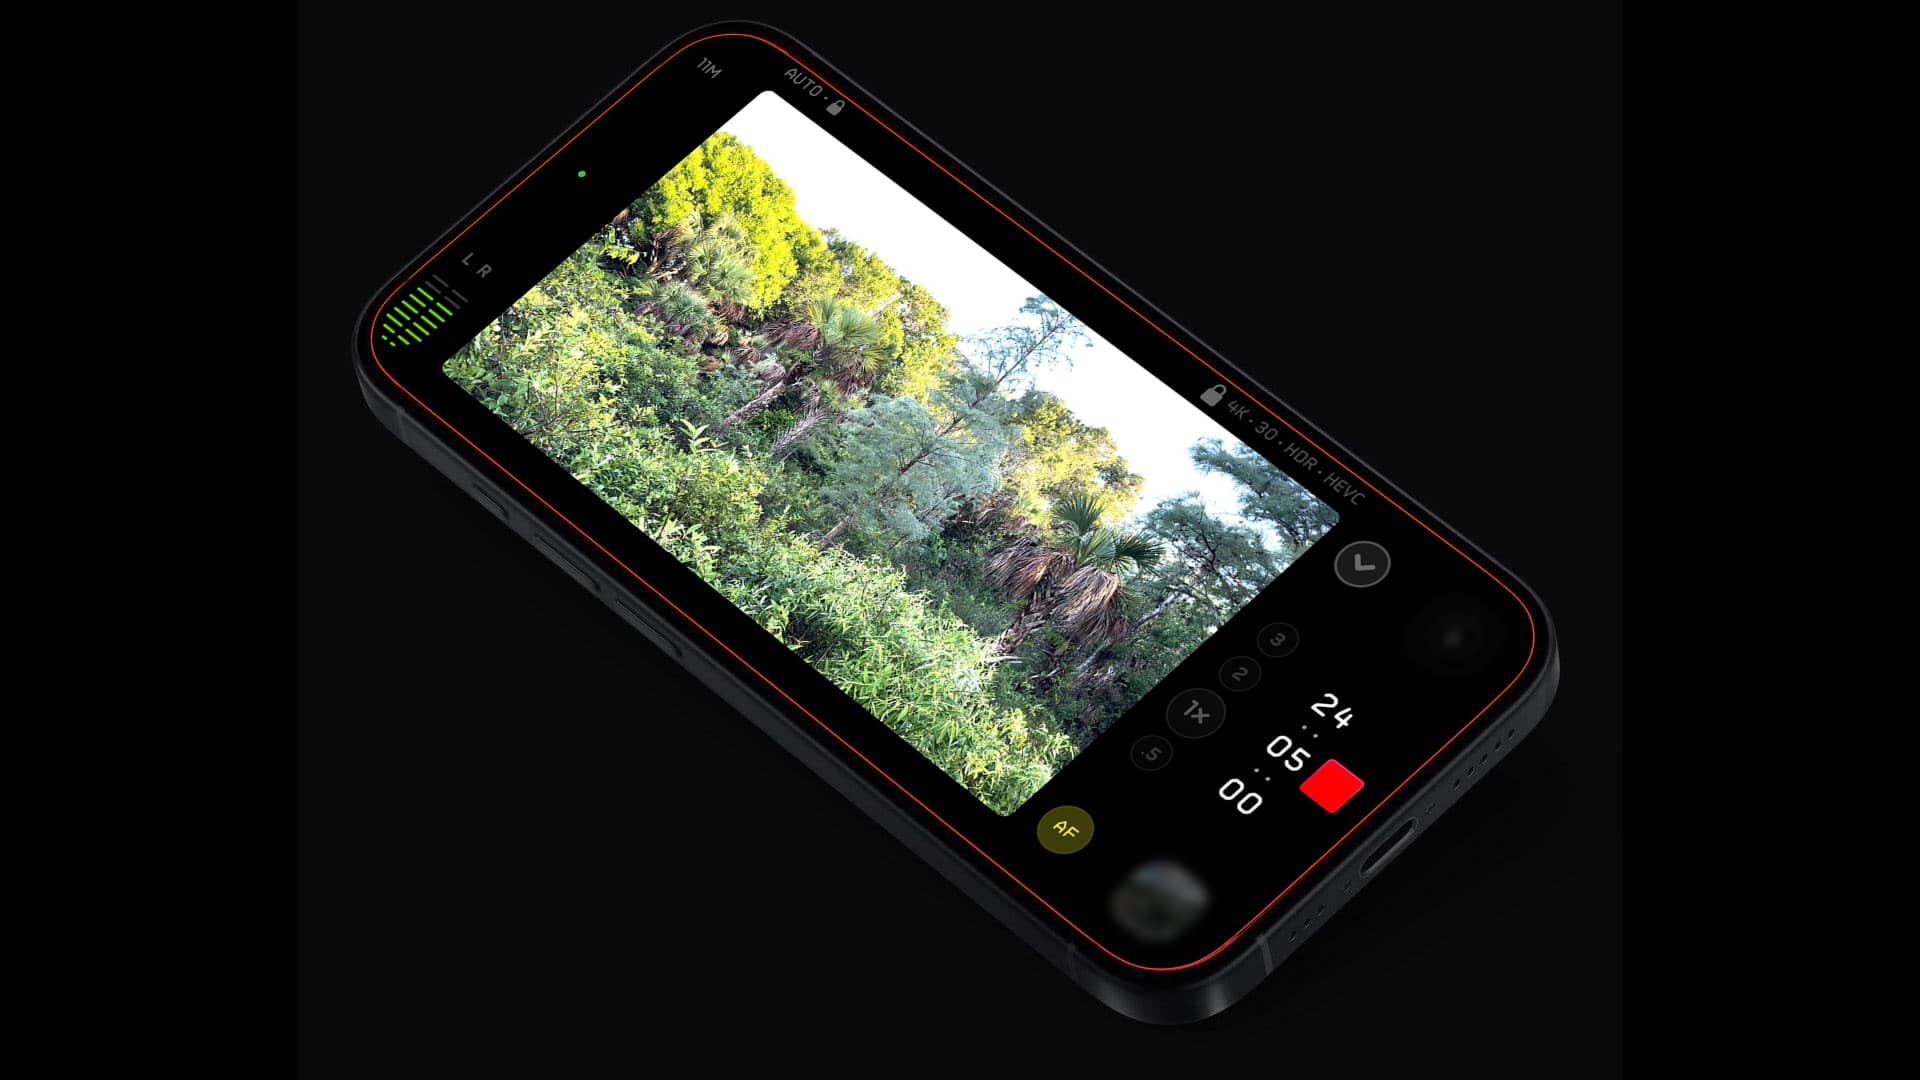
AutoMotion helps give a nice film look by adjusting exposure giving a cinematic motion (it can be disabled and default to the iPhone). You can choose frame rate, resolution, compression type (I went with 4K Log and HEVC), and more. Small details like how you’d like shutter speed to be presented, speed or angle, are very nice.
Presets can be used for quick setups, and the great news is they can be customized to your liking. Saving video files is easy and you can choose Files or Photo Library. I also made sure to select iCloud Backup, but it can be disabled. You can also showcase the RGB waveform to adjust exposure, focus peaking, turn on and off stabilization, add grids for composition, flip for selfie videos, and access other settings.
Finally, it’s very easy to access the user guide to get started, plus Lux Optics offers a free course on videography. They walk you through how to pull focus, setting up your first shot, and more. Completely worth your time before filming.

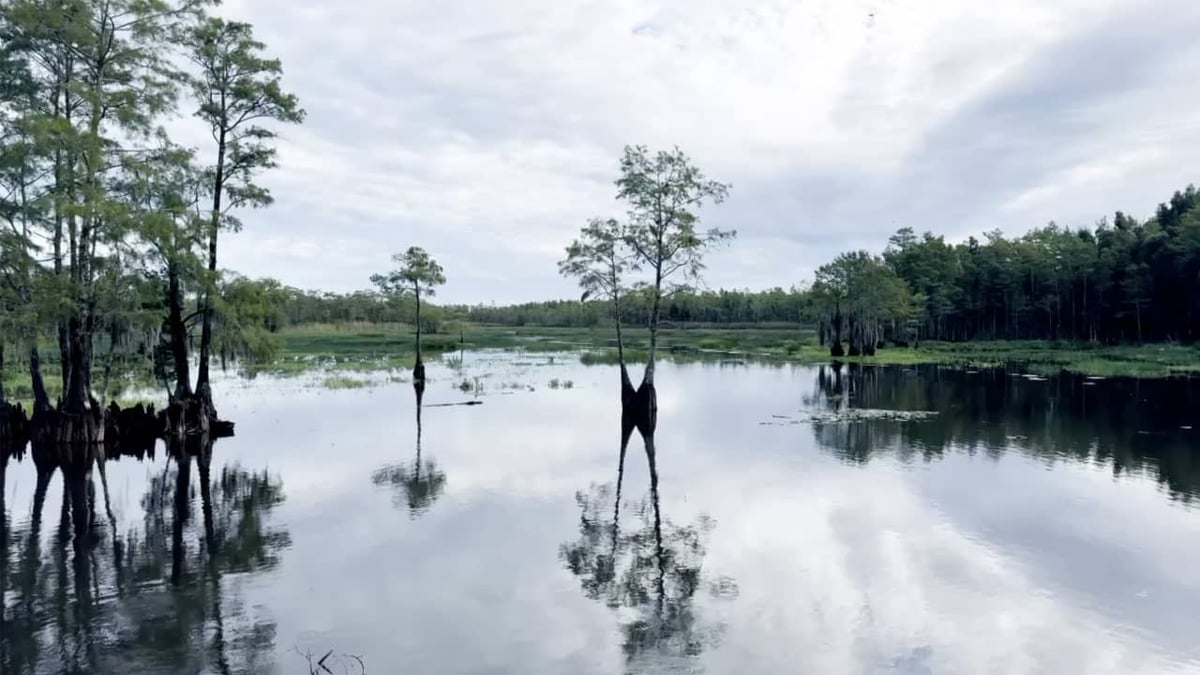
As I usually do when reviewing camera apps, I went for a couple of runs on the gravel trail in a South Florida swamp. I went two separate days, with one being sunny and the other overcast. (We’ve been in a drought, but two solid days of rain had nearly ended it, as you can see.)
I really like the footage I got with the settings ‘right out of the box,’ 30p, 4K, HEVC. I played around with frame rates and Kino recommends 60p at 4K HEVC, which produces some nice results. It ultimately depends on the project you’re filming.
Colors and exposure looked good and the AutoMotion setting kept things more cinematic with pans, etc. Dynamic range was also good. Everything looked nice overall, and I’d say the device also had a lot to do with it (iPhone 15 Pro).
Everything looked pretty good and film-like. I did a mix of full auto and manual and didn’t have too many issues. But if I were shooting something that wasn't for fun or a test, I’d go fully manual.

I do like filming with Instant Grade (with some pretty big names behind them, including Prolost and The LUT Company), although one important thing to keep in mind is it’s baked in, and the app even alerts you to it. So if you’re filming your next masterpiece on an iPhone with Lux Kino while using one of the Instant Grade options, you’re stuck with the look or add it after. And that may be okay for you. You can also add LUTs to Kino.
It’s also easy to set up some manual or lock settings, including locking down exposure and/or white balance so it doesn’t cause any issues. For example, before I rolled on a pan from some green foliage to the swamp itself, I did a quick test. Sure enough, the white balance automatically adjusted, and partway through my pan, I could see the app making a slight adjustment from the greens to the overall balanced colors of the swamp, including water, cypress trees, and blue skies. I quickly locked AWB and recorded.
The zoom feature is limited to 4 settings; .5x (wide), 1x, 2x, and 3x (nearly telephoto). I’d like more precise and smooth manual zoom options.
I did some quick cuts in LumaFusion on my iPhone and did most of my editing in Final Cut Pro. Using either NLE app presented no problems importing and editing the Lux Optics Kino footage.
There is a lot to like about the Lux Optics Kino Pro Video Camera app, and it has plenty of pro features to take full advantage of your iPhone’s camera. It’s also easy enough for anyone to use and get great footage. The real star is Instant Grade and all the terrific options available to get a really cool look. Plus it’s only $19.99, making it a nice and affordable app for anyone looking to get into mobile filmmaking (and it isn't subscription-based).
But how does it stack up to similar apps, like Filmic Pro and Blackmagic Camera? I think they have some more work to do and features to be added, and Blackmagic is free and has some of the same features found in their cinema camera line. Plus, I’m a long-time fan of Filmic Pro, although it is now subscription-based. For $19.99, Kino might be worth purchasing and using as they continue to add features.
Lux Optics is listening to everyone's feedback and are constantly refining the app and have already sent out a few releases. I could tell the app was faster when I went out on my second test run (literally). It's a safe bet that more features will be added to make it an even more well-rounded mobile filmmaking and cinematography app.
Learn more here.
Tags: Apps & Software mobile filmmaking

RedShark 2020 @ All rights reserved.


Comments