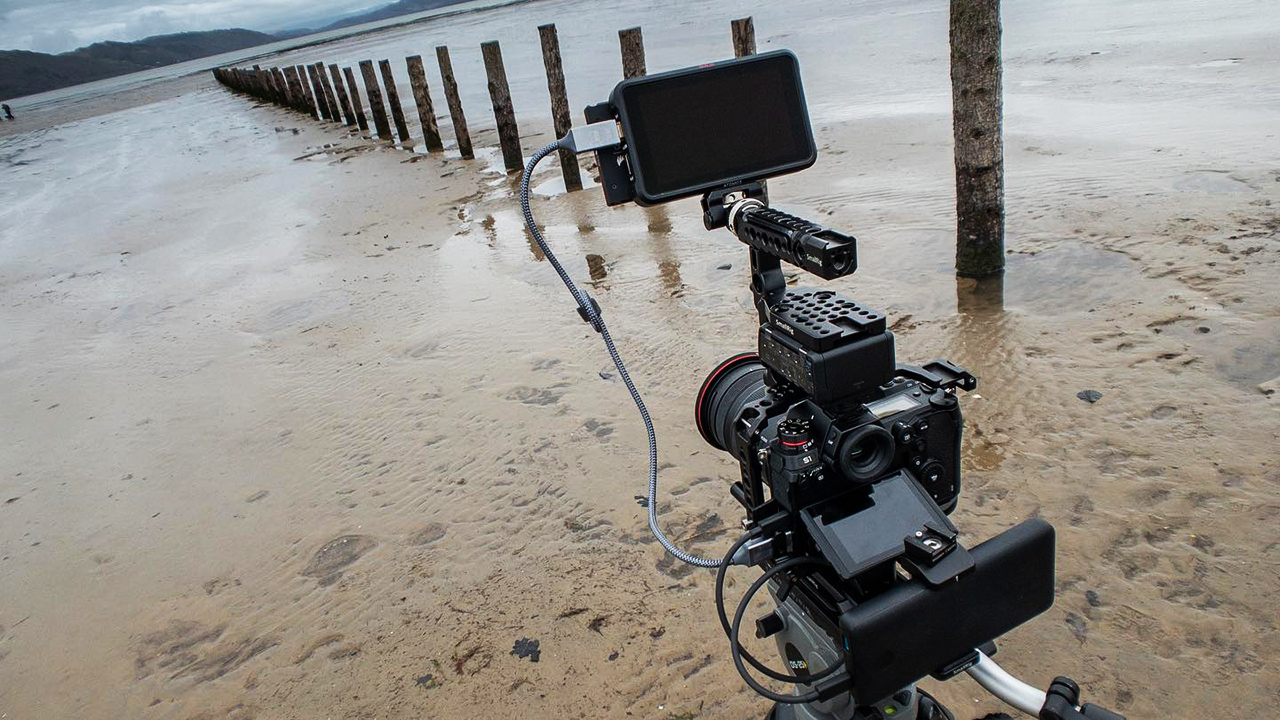
If you want to become a better camera user, or you are simply rusty due to lockdowns, these are the skills you need to put a focus on, especially if you can't work right now.
Being a camera 'operator', a term I'm not sure if I've ever been comfortable with, is a road full of continuous development. Camera use is one of those skills that you never stop learning. Conversely it's also a skill that can become very dulled through lack of practice. You never fully loose skills, but at a time when work for some may be lacking here are a few aspects to keep thinking about, and practicing. Much of this will be useful for newbies, but they are also things that as experienced users we can often forget!
The basics
I've been working for RedShark in a full-time capacity for a good few years now, so when I am invited back into a production environment as a camera op I need to be much more on the ball with what I am doing than I would have been when I was doing things on almost automatic pilot. When you were at one time pretty much married to the camera it comes as a shock when you forget to take note of basic settings. But believe me, it happens! Check and double check if you are feeling a bit rusty!
Shutter speed
This is a big one, and particularly if you have been occupying yourself during lockdown by practicing stills making sure that your shutter speed is set for video use is an easy thing to miss, especially if you end up having to work quickly. For newbies this generally, though not always if you have something specific in mind, needs to be set to shutter speed = 2x frame-rate. So for example if you are shooting in 24p, 2x24 is 48, so your shutter speed should be 1/48th.
This is particularly important with slow motion, and it's one reason that I prefer to use the cinema style 'shutter angle' display rather than fractions of a second. If you use a shutter angle setting you can always be sure that the camera will be set to the correct shutter interval, whether you are shooting standard speeds or slow motion.
White balance
White balance is the easiest setting to miss if you are out of practice. Check and double check. If you are shooting raw then this isn't really an issue. But it is as well to highlight because if you are used to shooting raw it may be a setting that you have trained yourself to be lax about. I generally prefer to have presets on cameras I use of 3200, 5600 or 6300 to cover most bases. Mirrorless cameras have useful presets for tungsten, daylight, cloud cover, and shade. So they are arguably a bit more versatile in terms of white balance presets than traditional 'professional' camcorders.
ISO/Gain
No matter how low noise your camera is, you still want to use as low a gain/ISO setting as you can for any given setting. Dual native ISO functionality has helped low light performance hugely in recent years, but if you are using an older camera it's sometimes easy to miss that you are on a, shall we say, rather noisy setting!
Okay, so those are the absolute basic settings that the newbies and rusty amongst us should be extra vigilant about, now let's look at some things to help advance you.
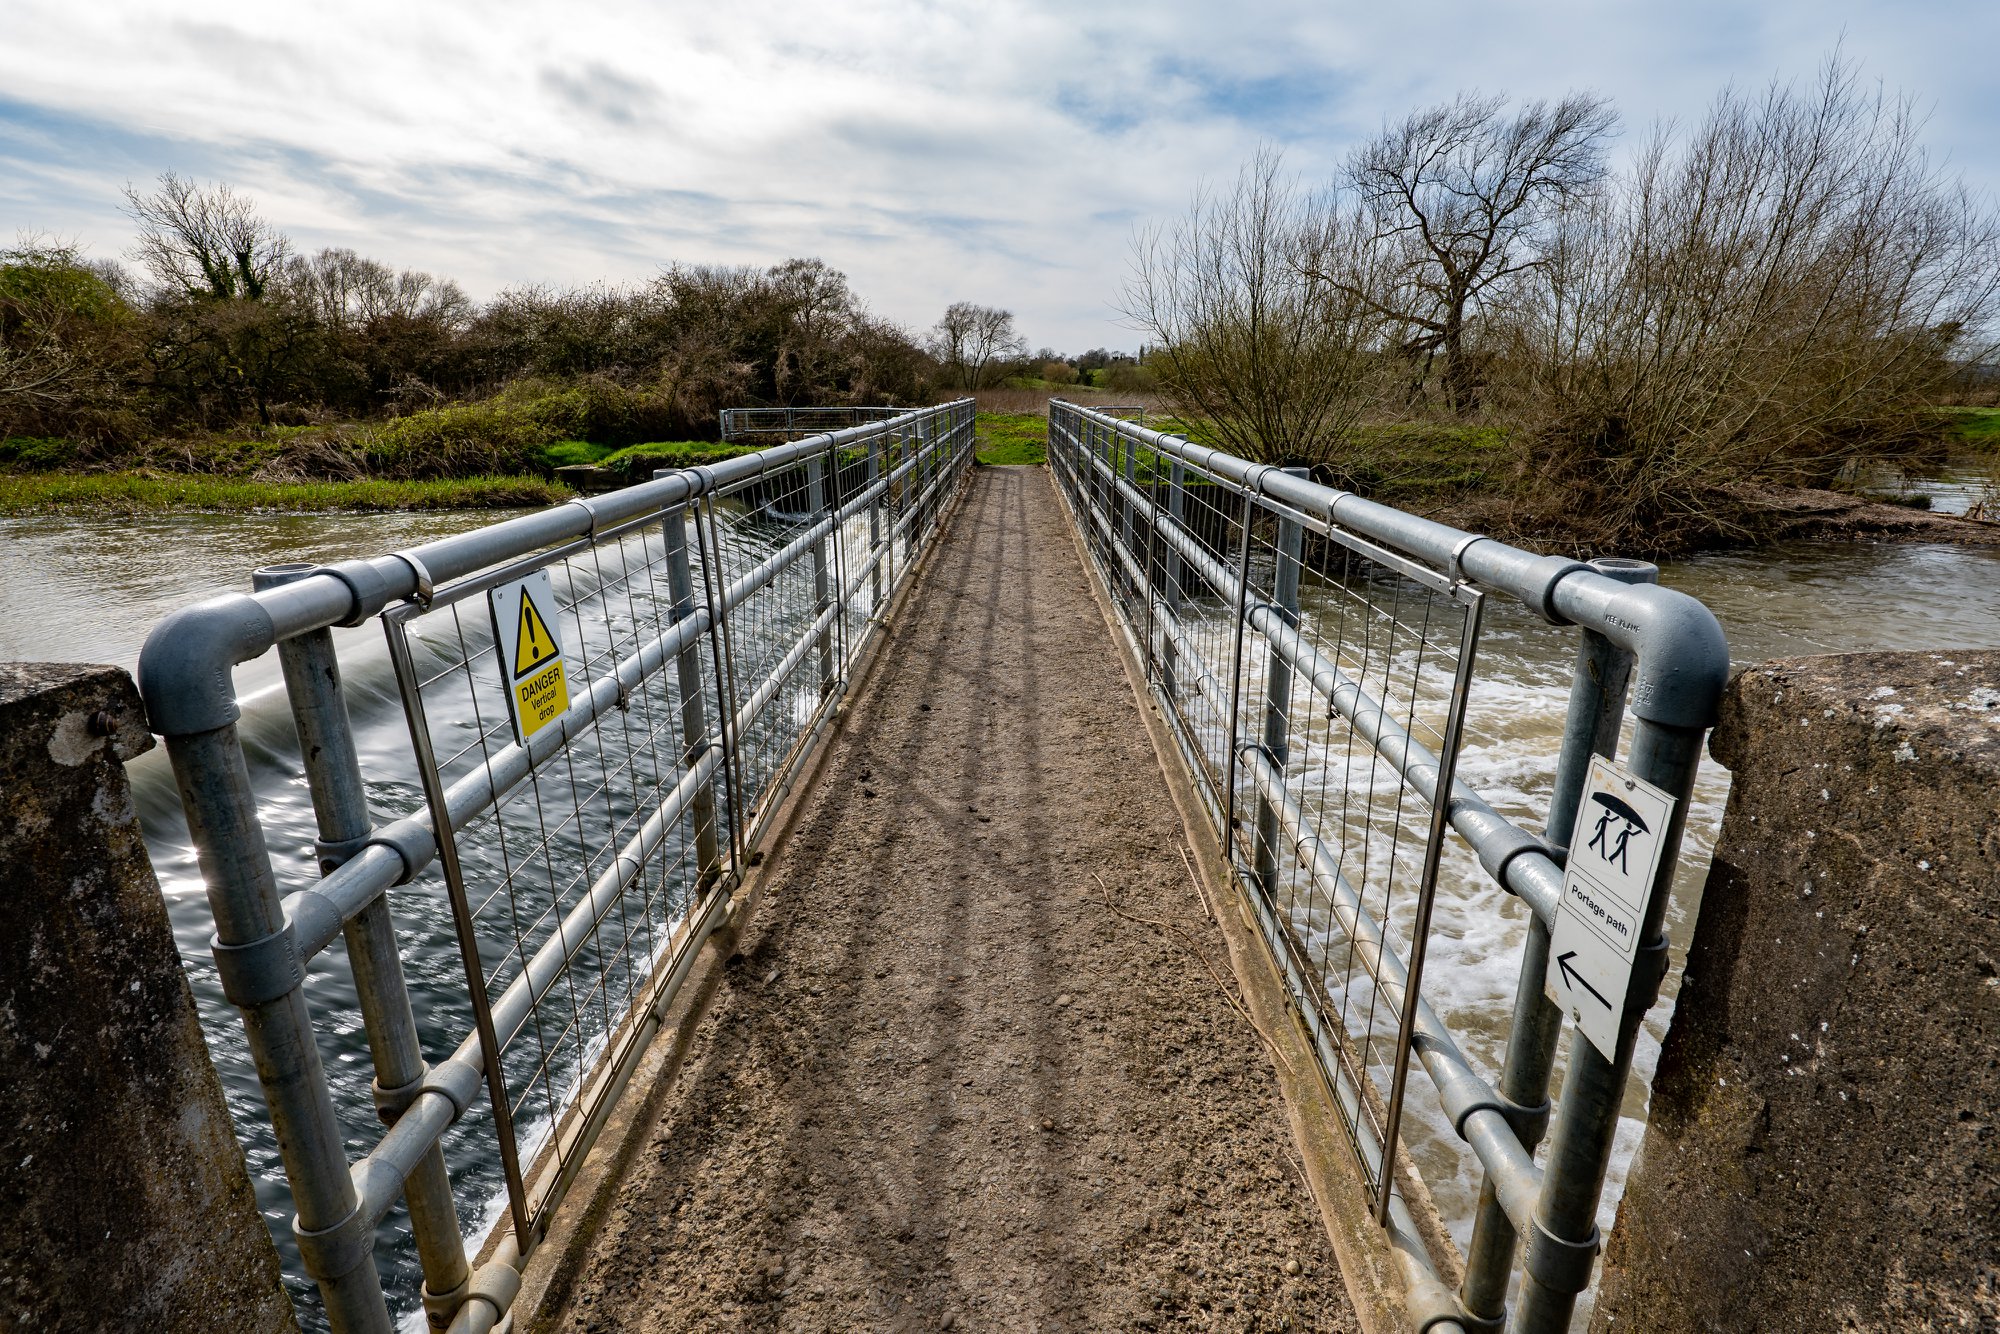
Not an inspiring place, nor interesting light, but you can still play around with lines.
Understanding the effects of light
Away from the basic camera settings above, light is the single most important thing in your arsenal when it comes to making a good picture and improving your skills. Yet despite its importance it's easy to simply use it as a functional way to film something rather than a creative one.
The best way to improve your use of light is to simply observe it. Spend time outdoors at different times of the day. Really take the time to look at how the light is behaving on buildings, the effect it has on colour, on ambience, on shape. It's an easy thing to take for granted.
Don't be put off by overcast and flat days either. As a camera user you will have to film in all types of light. There's no use having to shoot something on a cloudy or grey day but complaining that it isn't giving you beautiful light. Beauty is in the eye of the beholder and some of these days can really be quite atmospheric. Anything with colour in it will stand out much more than normal, for example leaves in Autumn.
True, a grey day won't help you if you are trying to make things look like a holiday in the Bahamas, but if your options are open you can still make it look good. And that will be helped by the next thing on my list...
Composition
Composition goes hand in hand with light. In fact it is an integral part of it and one without the other doesn't work. If you've been at the game for a while you've likely moved beyond the rule of thirds, but for newcomers the rule of thirds isn't, well, a rule.
It gets you to first base, but it is a bit limiting. There are other compositional methods, including breaking up the 'thirds' into more elements. WW2 fighter ace Douglas Bader once said “Rules are for the obedience of fools and the guidance of wise men.”
He had a point because by religiously following compositional 'rules' you will severely limit yourself. Objects of focus can be placed directly in the centre, including interview subjects. The camera doesn't have to be at eye level for interviews either. It all depends on what you are trying to do.
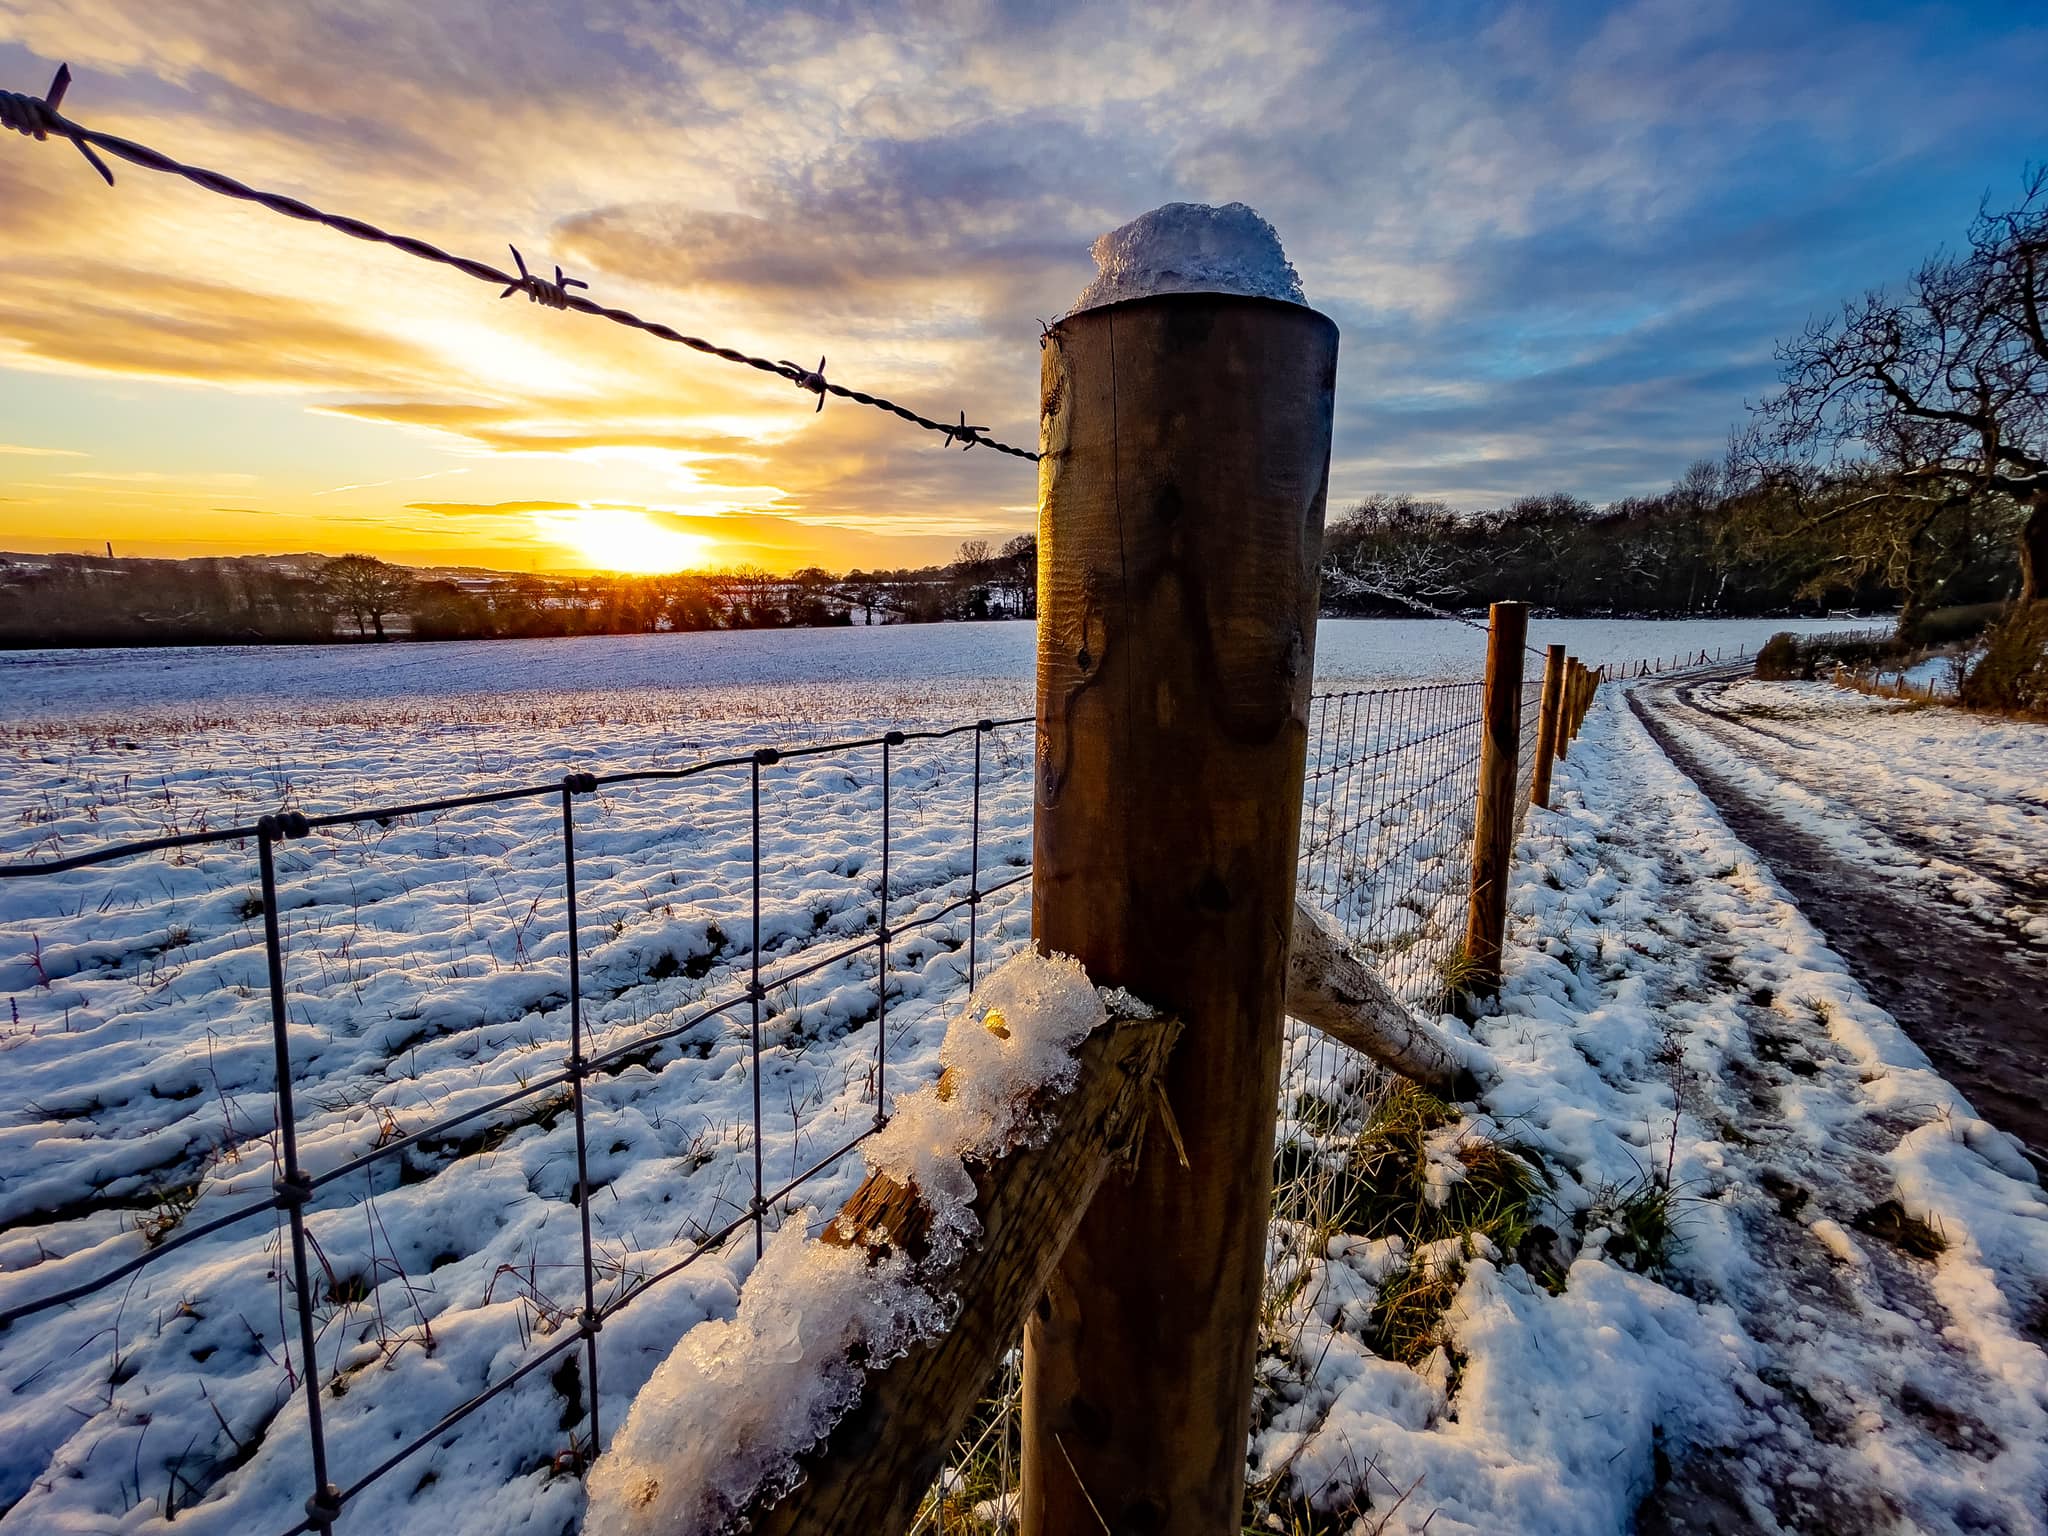
Nice light! Looking through the barbed wire rather than placing the camera above it. You can look for this stuff even on a walk, just like I did here with my phone.
When it comes to documentary the BBC Horizon series is a great example of how creative you can be with a factual programme. Interviews sometimes have the whackiest angles and compositions, yet they all work. Why? Because whoever made those setups was thinking about how they directly related to the subject matter of the programme. For example if you are talking about very strange and weird things in science you can afford to be a little bit off the wall in your composition.
The keyword here is "safe", or rather try not to be too safe. If you are in a rut of corporate and industrial video being safe is easy. It's also incredibly demoralising. I know, I've been there. It's possibly an area in which many YouTube creators are unaware of because they don't have to risk the wrath of an unhappy client. But that's still no excuse not to at least try to find those little pieces of invention. Even if you are handed a square white room with no windows in which to film in! Refer back to "light" in that case.
Start to look for lines more, but once you start to see these visual clues for 'leading' composition try pushing things by trying different camera heights, looking through objects and intersecting objects. Run through your head what the production is about. If you are working with a DP this won't really be on your radar, but for small scale shooters where the DP and camera op is the same person try to think more about how the composition and lighting serve the video you are making.
Even on the most creativity sapping corporate jobs you can still think about these things. Whether it is the lighting colour scheme for an interview or becoming much more creative with the product shots, there are truly opportunities to make things a lot more interesting if you really look. Using time during lockdown to help get the brain juices flow a bit to keep you handy is a good way to be prepared for when things get back to normal.
You don't need to take your main camera everywhere to practice this either. You have one in your pocket, called a 'smartphone'.
Brushing up on manual skills
Don't just rely on autofocus. Use the time you have now to practice manual skills. Try pull focusing manually. Try fixating on an object and moving towards it while adjusting the focus ring to keep it sharp. If you have always used auto functions this will be a frustrating task to begin with, but stick with it. It comes with lots of practice. It is extremely challenging with stills glass, although the Linear option on Panasonic glass makes things behave much more like a traditional camcorder focus ring.
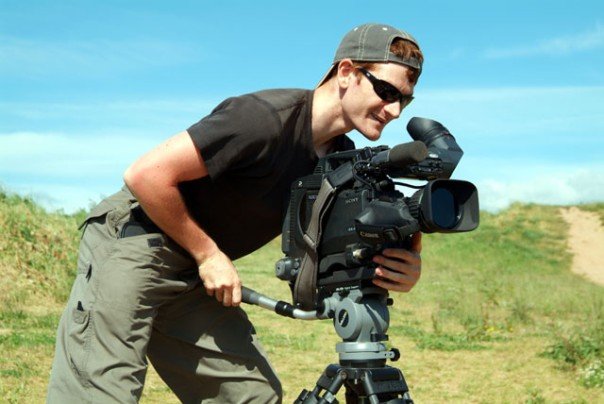
I probably thought I looked cool or something. Actually it was a bloody hot day and I burn, so forgive the backwards hat and Jesse Ventura sunglasses! And don't ask why I was hugging the camera!
If you own some fully manual glass with an analogue iris control you can practice both focus and iris pulling and pushing. Back when I was doing this full time on ENG style camcorders I could track moving objects manually with one finger, adjust my iris with another, and even perform subtle zooms with a third. This was a very useful skill to have when tracking objects like moving vehicles in changing light and documentary work. Auto functions have made things easier, but you won't always be working with automatic glass, and some lighting conditions really mess up auto modes. One day you might need to work with a cine-zoom, and efforts to practice full multi-tasking manual operation will pay off.
Practice moving with the camera handheld or on the shoulder. Practice being able to change position and angle without drawing attention to your movement. It should look intentional, not shaking all over the place. This isn't just about having a steady hand, it's also about constant awareness of what your shot is doing.
You never know when you might need to do this. You might be filming a conversation in a public place when the light changes or something comes into view that you don't want to see. Yet if you can't stop the filming you need to be able to react quickly, and very smoothly to keep things running without giving the editors a nightmare!
The takeaway from all of this is not to be complacent about your skills. I know some of you will be questioning the idea of forgetting things like shutter and white balance, but that's an easy thing to mock until it's happened to you! I've never messed up a shoot because of it, and that's because I make sure to double check these things. But if you're in a hurry and out of practice you could easily do just that. Stay sharp out there!
Tags: Production Opinion

Comments